Viewing and Configuring Static Routes
You can view and configure static routes on the Web interface's Static Routes page. This page displays the routes (Layer 3) of the device's data-router functionality.
|
➢
|
To view and configure static routes: |
|
1.
|
Open the Routing Table page (Setup menu > IP Network tab > Core Entities folder > Static Routes). |
|
●
|
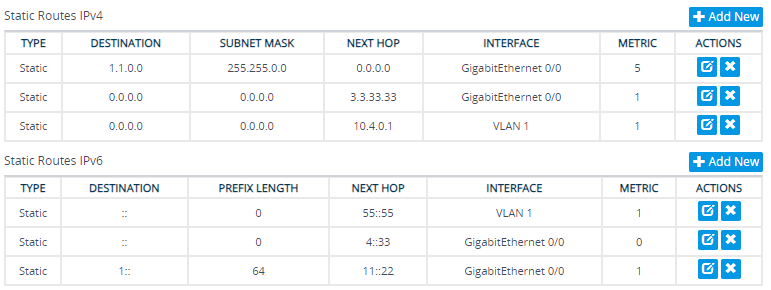
'Type': Type of route (e.g., Static or Connected) |
|
●
|
'Destination': Displays the destination network. |
|
●
|
'Subnet Mask': Displays the mask of the destination. |
|
●
|
'Next Hop': Displays the next IP address to the destination. |
|
●
|
'Interface': Displays the interface on which the route is applied. |
|
●
|
'Metric': Displays the metric of route. |
|
2.
|
To add a static route: |
|
a.
|
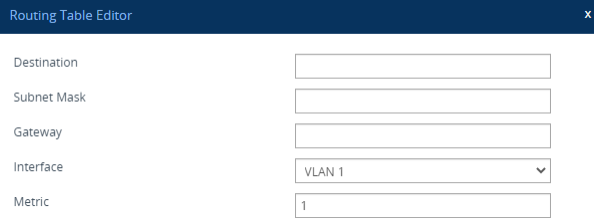
Click Add New; the following appears: |
|
3.
|
Configure the following fields: |
|
❖
|
'Destination': Destination network (IP address). |
|
❖
|
'Subnet Mask': Subnet mak of destination. |
|
❖
|
'Gateway': Next hop (optional). |
|
❖
|
'Interface': Interface on which route is applied. |
|
❖
|
'Metric': Metric of the route. |